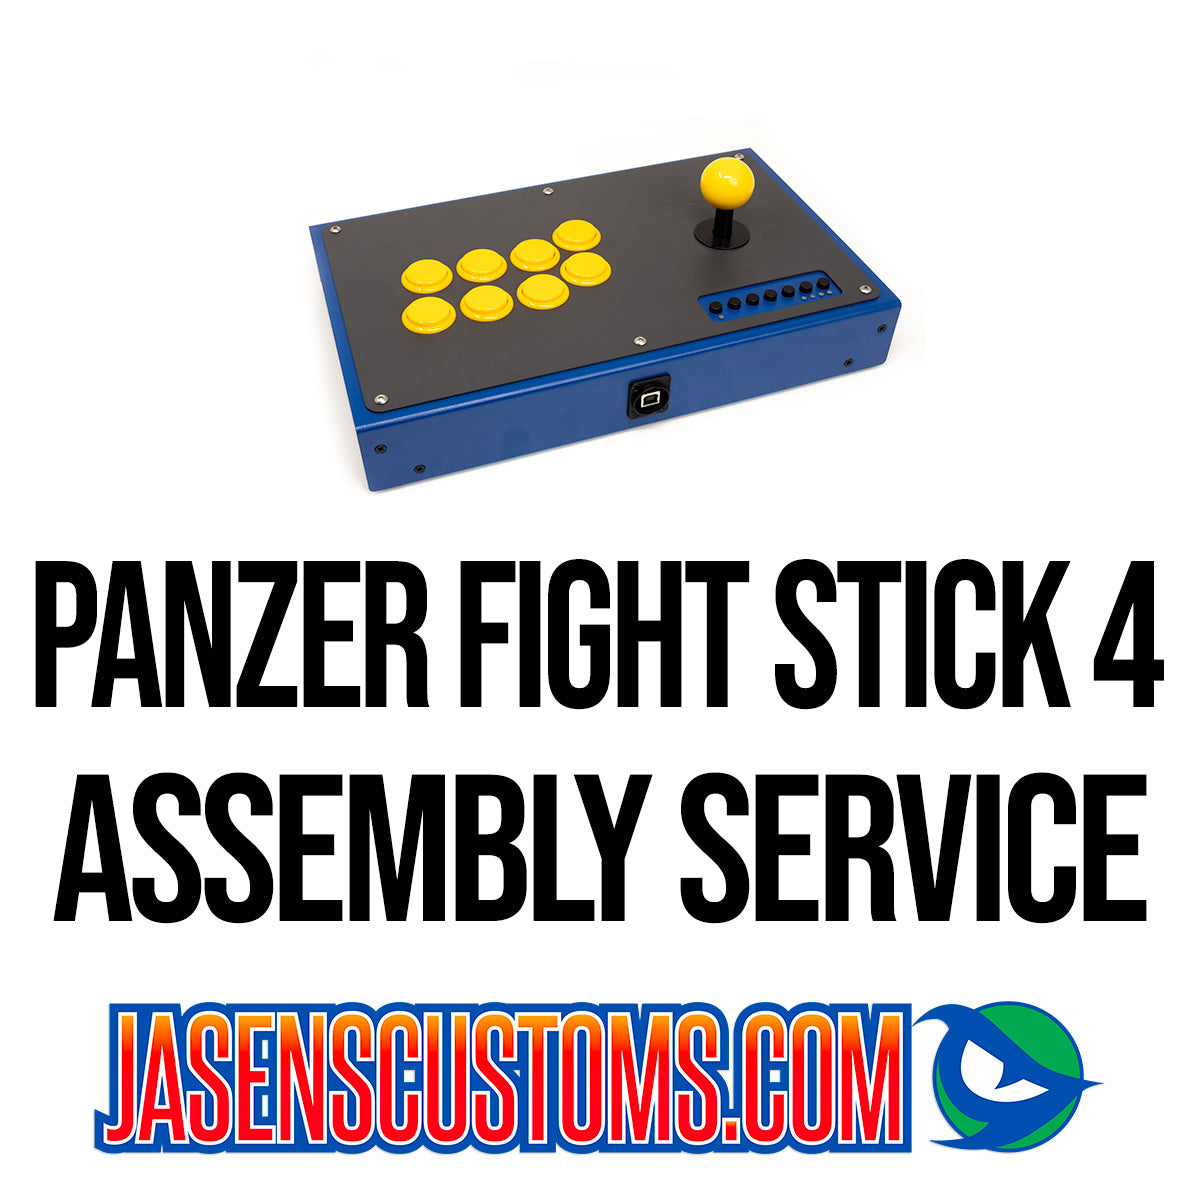
The Panzer Fight Stick 4 is here, now with a DB15 port! It follows design influences from the original, launched in 2013, and has a little bit of something from every iteration between then and today. When you see it, you know it’s a JasensCustoms.com fight stick. The addition of a DB15 port (included) makes your build even more customizable because you have direct access to the button and lever outputs of your stick - perfect for use on NEO-GEO (follows that pinout) and other discrete controlled systems like SuperGuns.
From the standard Panzer 4 Page:
Revolutionary? I wouldn’t say so. It seems like a metal box. Uninspired and boring. I did this in 2013 with the original Panzer , and since then, others have followed suit. At face value I would agree; it might be seen as boring. Sheet metal isn’t sexy. Unless you invest tens of thousands of dollars in metal stamping equipment and specialized stamps, or cut a bunch of small parts and weld them together, it stays rather flat. Just because the design is rather plain at first glance doesn’t mean it isn’t wonderful and that’s what I strive for. My goal from the start was creating a fight stick that serves as a canvas for you to make your own from start to finish with choice in layout, buttons, levers, and art (or lack thereof!) just how you want it..
Like all my Fight Sticks to date, the Panzer Fight Stick 4 doesn’t have fancy opening clamshells with weak hinges that break. There are no thin panels that will rust out. No large gaps between the two halves of the case, and no plastic casings that feel cheap. I didn’t use acrylic panels with finger joints or T-nut style assembly, and there isn’t a single 3D printed part on the case.
What does it have?
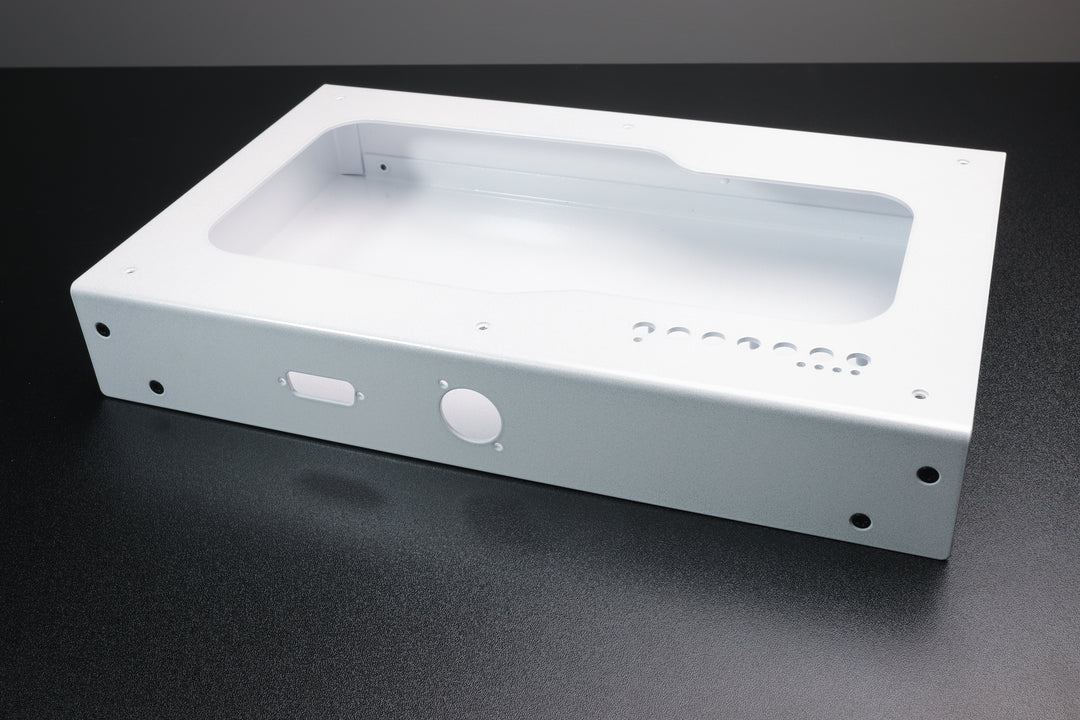
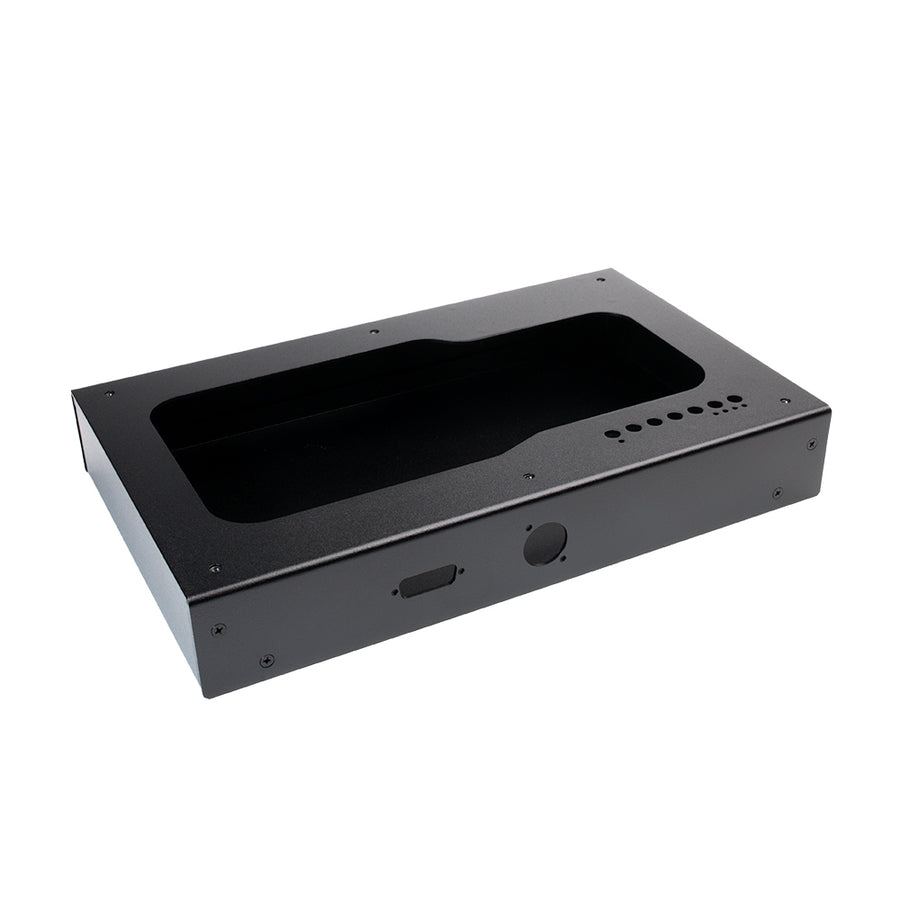
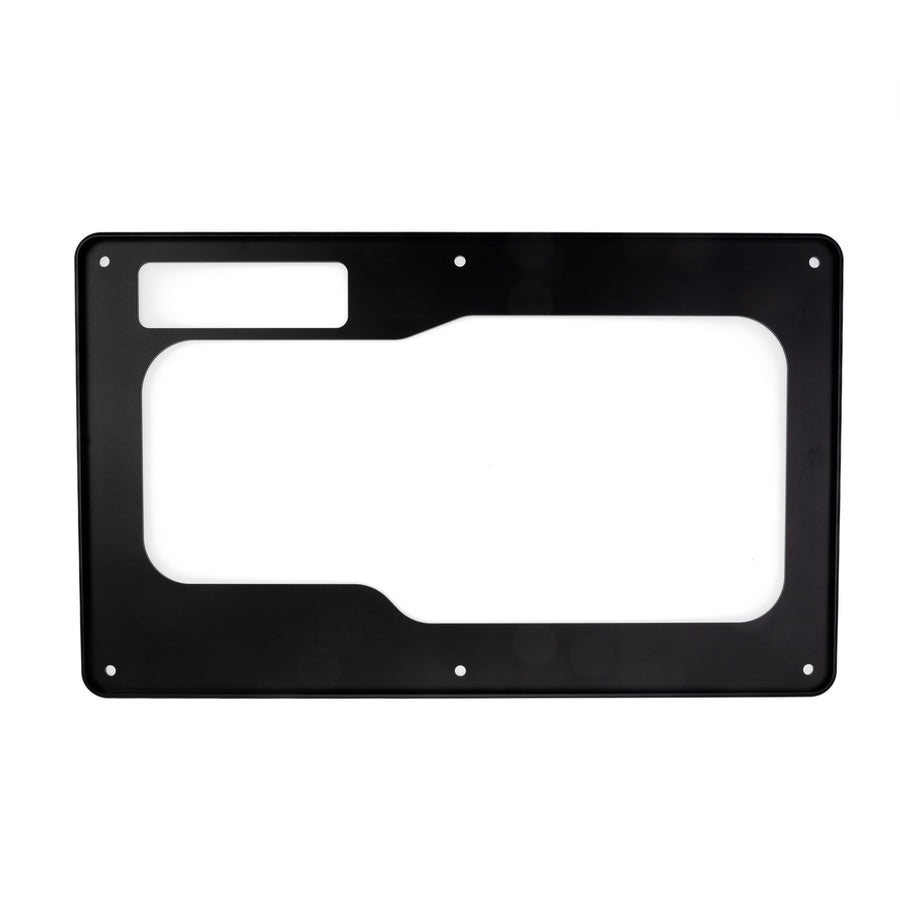
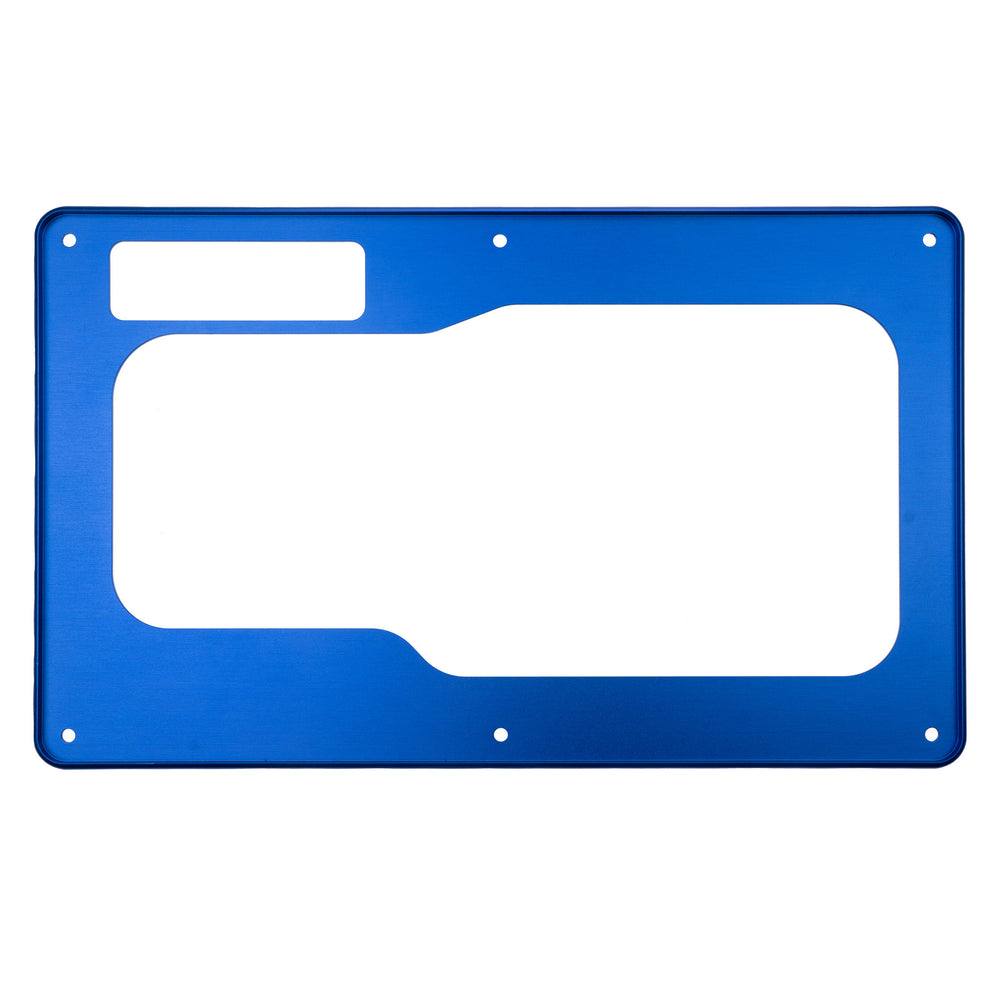
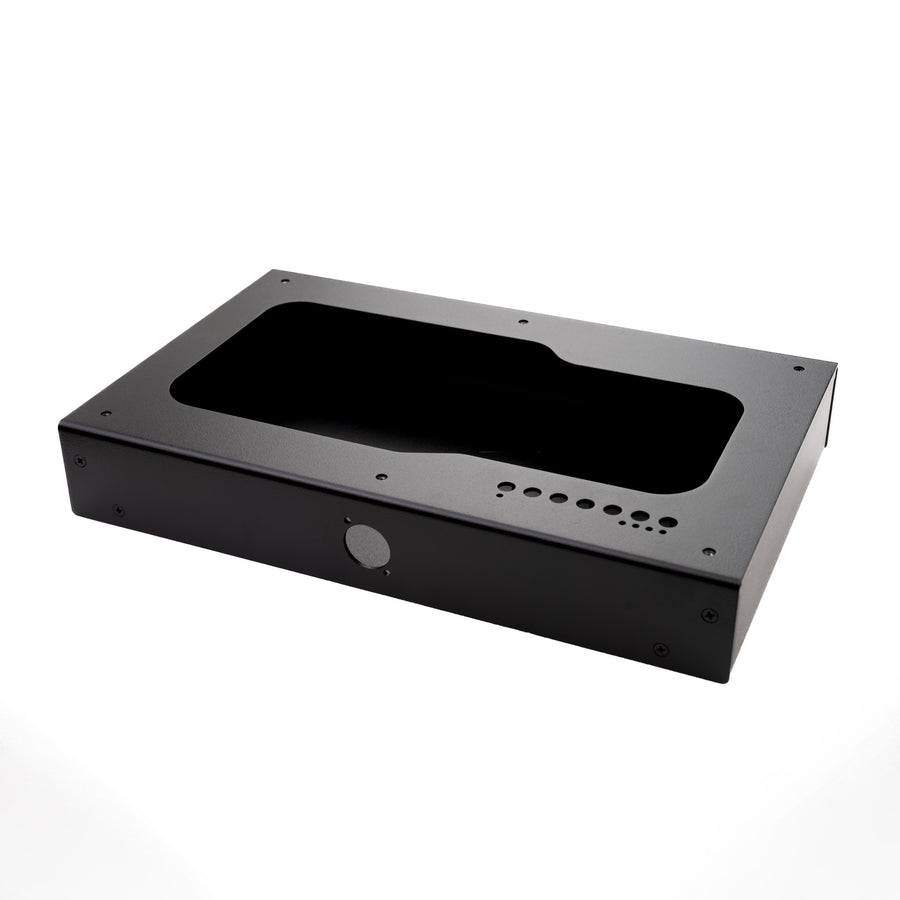
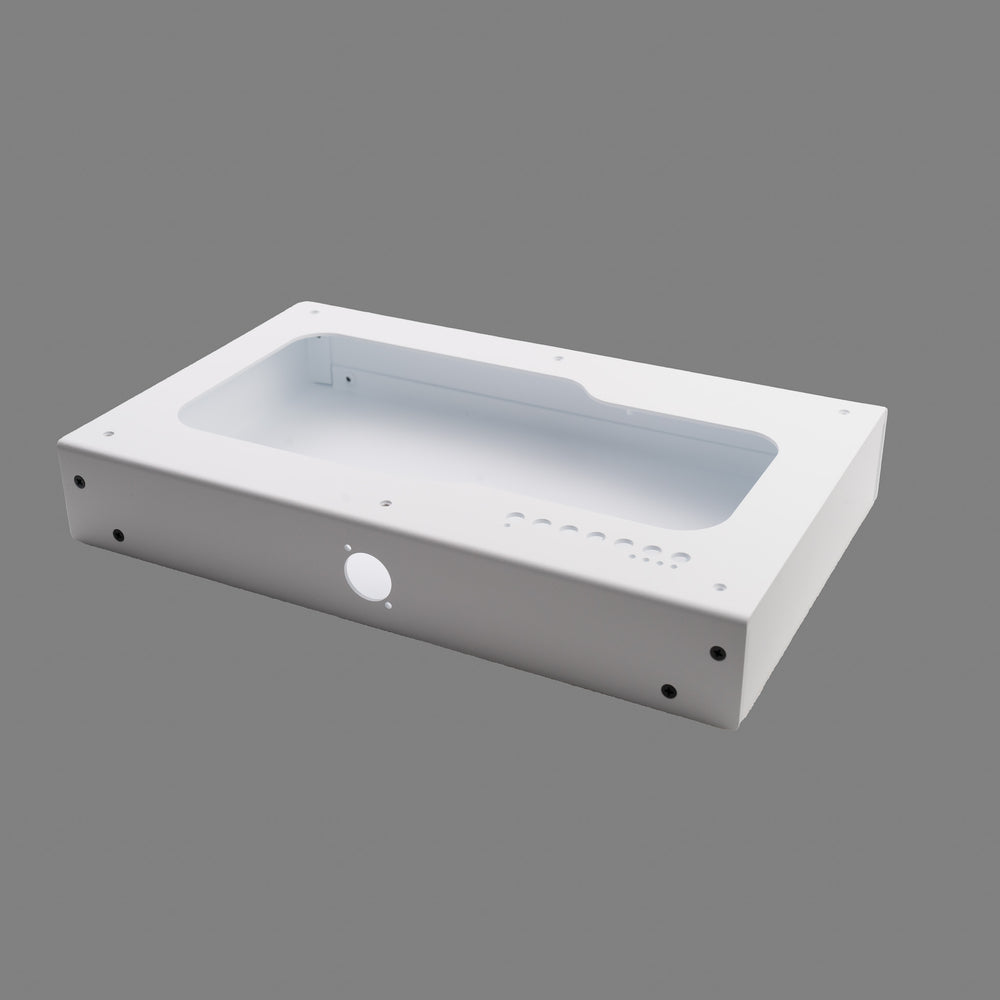
- A thick aluminum chassis (2mm!) powder coated with support for multiple layouts and swappable panels. They are strong, rust resistant, and lightweight.
- Countersunk screws on the chassis holding it together for a sleek, yet strong look.
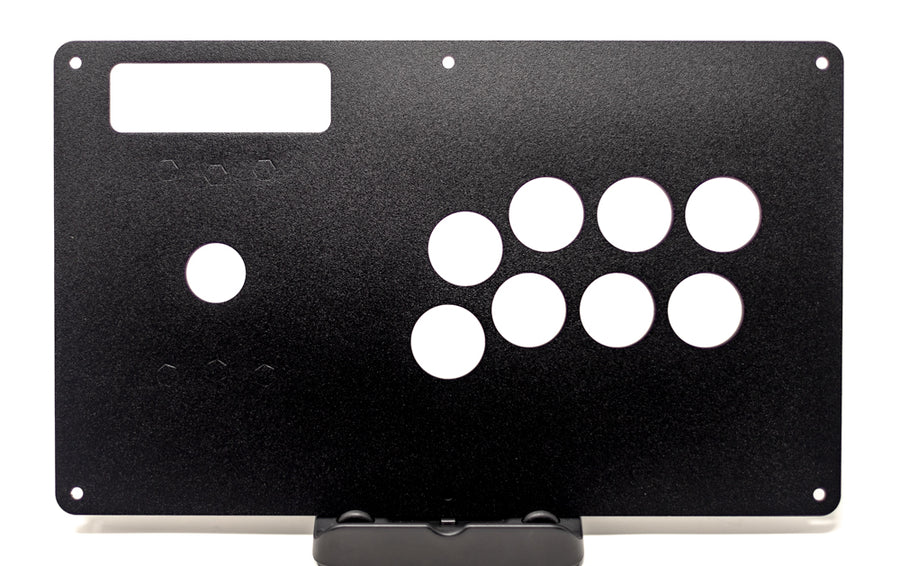
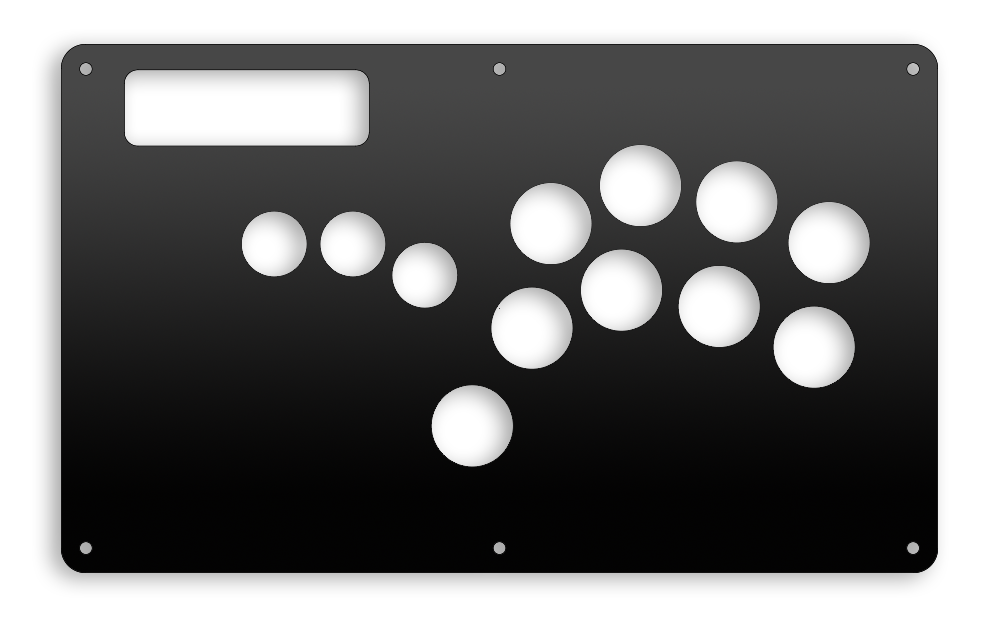
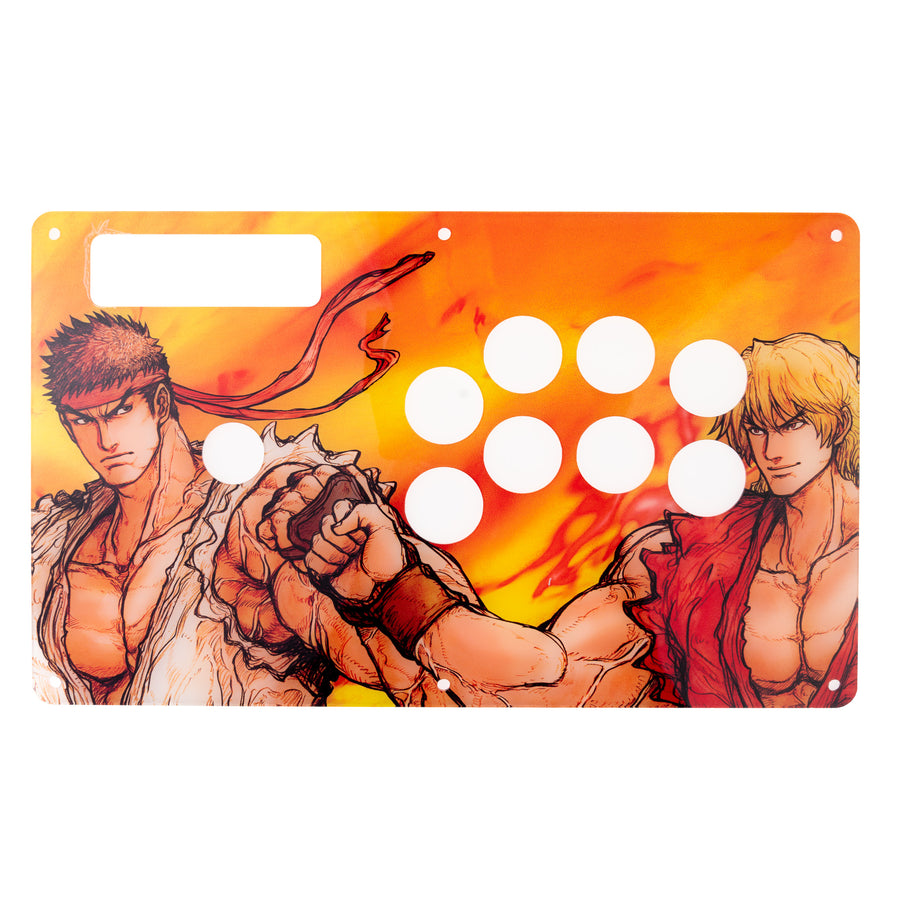
- A removable top panel, common to the Madcatz TE, so both builders and modders benefit from the new production of Panzer 4 parts. Panels are cold rolled steel to add some weight to the final build.
- A custom EZ wiring system that works with all of Brook’s mainline fighting boards (UFB, PS4, PS4+, etc.) leveraging the PFS 2.0 and PFS 3 System of Systems and EZ BUILD concepts. The DB15 version also comes with a custom DB15 port to make wiring it up easy! See below for details.
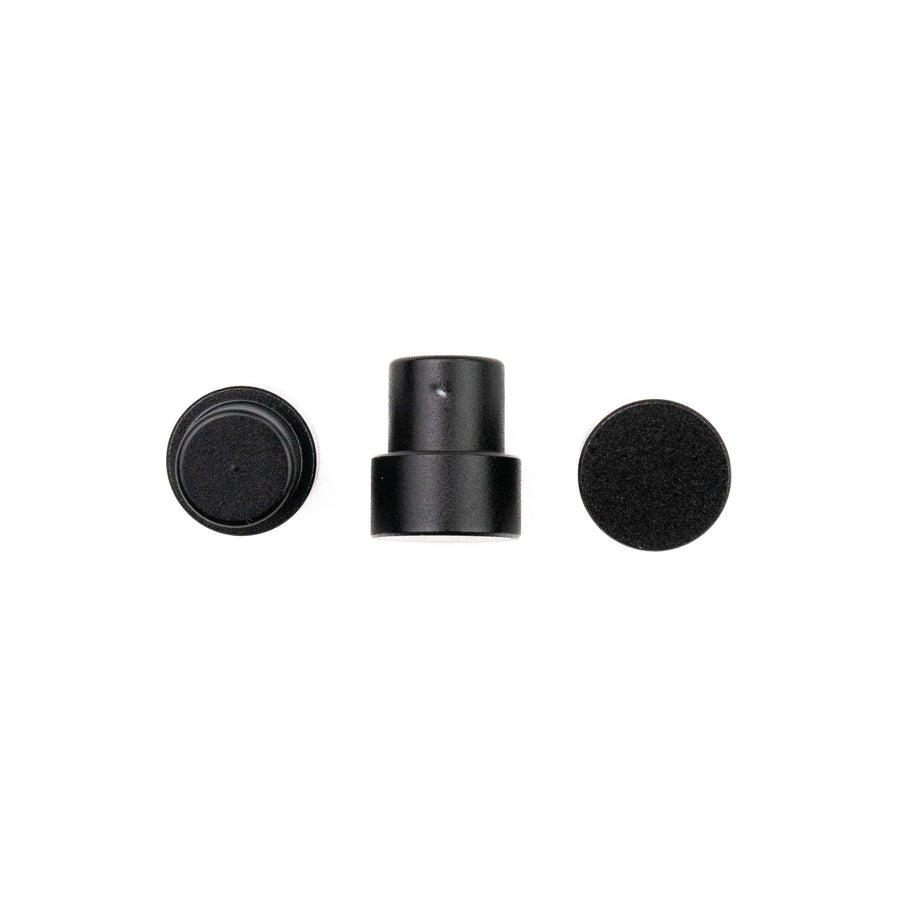
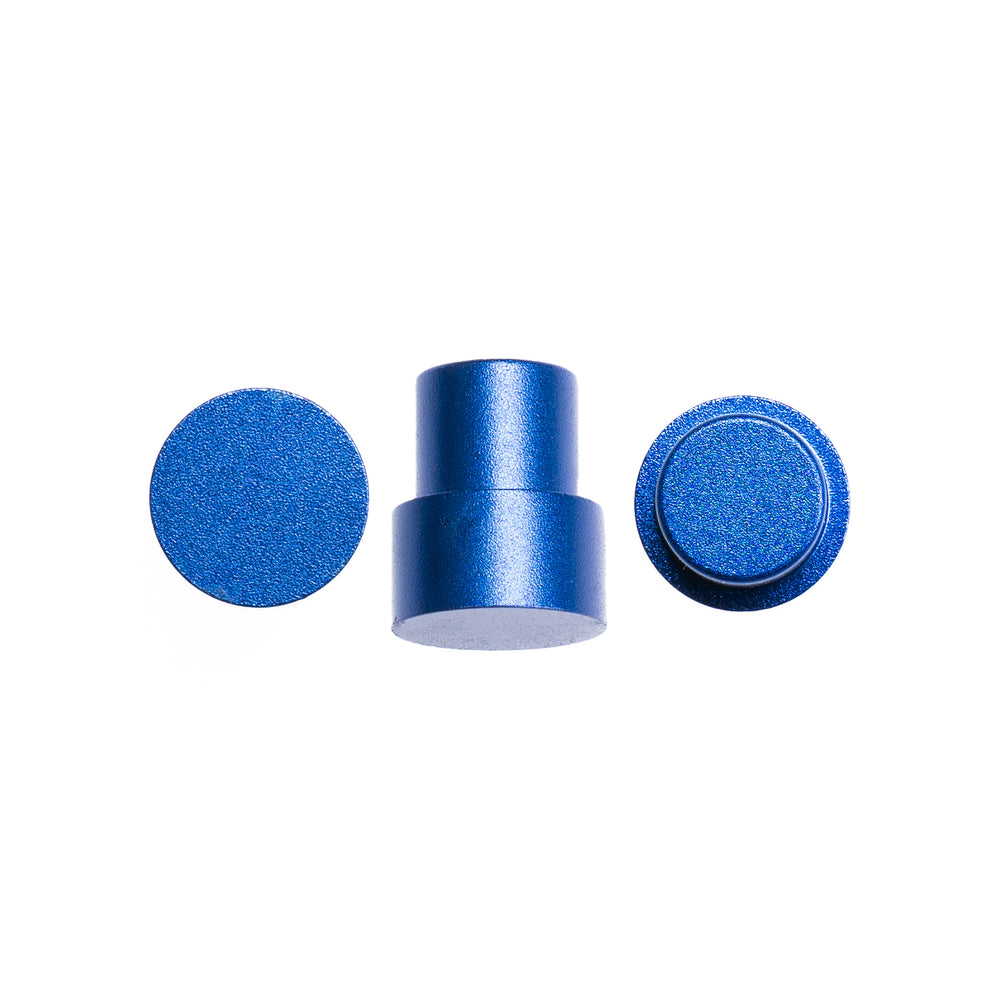
- A custom Auxiliary area that not only has all aux buttons (home, start, select, L3, R3, TouchPad Click, and Turbo) but also has LED indicators for Player and Turbo functionality! Each aux button is actuated with custom machined aluminum caps inspired by the work I did on the Panzer M and Unibody.
- A unique, premium bottom pad with pressure sensitive adhesive that feels comfortable on your lap but will also keep your stick in place when used on a table. These are the same pads I used on the Panzer 3i, just a different size and without holes for feet threaded insert access.
All Panzer Fight Stick 4 Chassis with DB15 orders include:
- The chassis.
- The EZ Wiring PCB, Aux Area PCB, and wiring for both lever-based panels and the Hitbox/Shiokenstar panels. This will ensure you can use any panel at any time with your new chassis.
- 5x Light Pipes for the LEDs in the Auxiliary Area.
- 7x Machined Aluminum and anodized BLACK button caps for the Auxiliary Area.
- 4x plastic stand offs to use between the fighting board of your choice and the EZ Wiring PCB.
- 6x M4 screws to hold the panel of your choice in place. (Panels purchased separately)
- 4x Long 4-40 screws for the EZ WIRING and Fighting Board attachment.
- 6x Short 4-40 screws for the Auxiliary Area PCB fitment.
- 1x Bottom Pad.
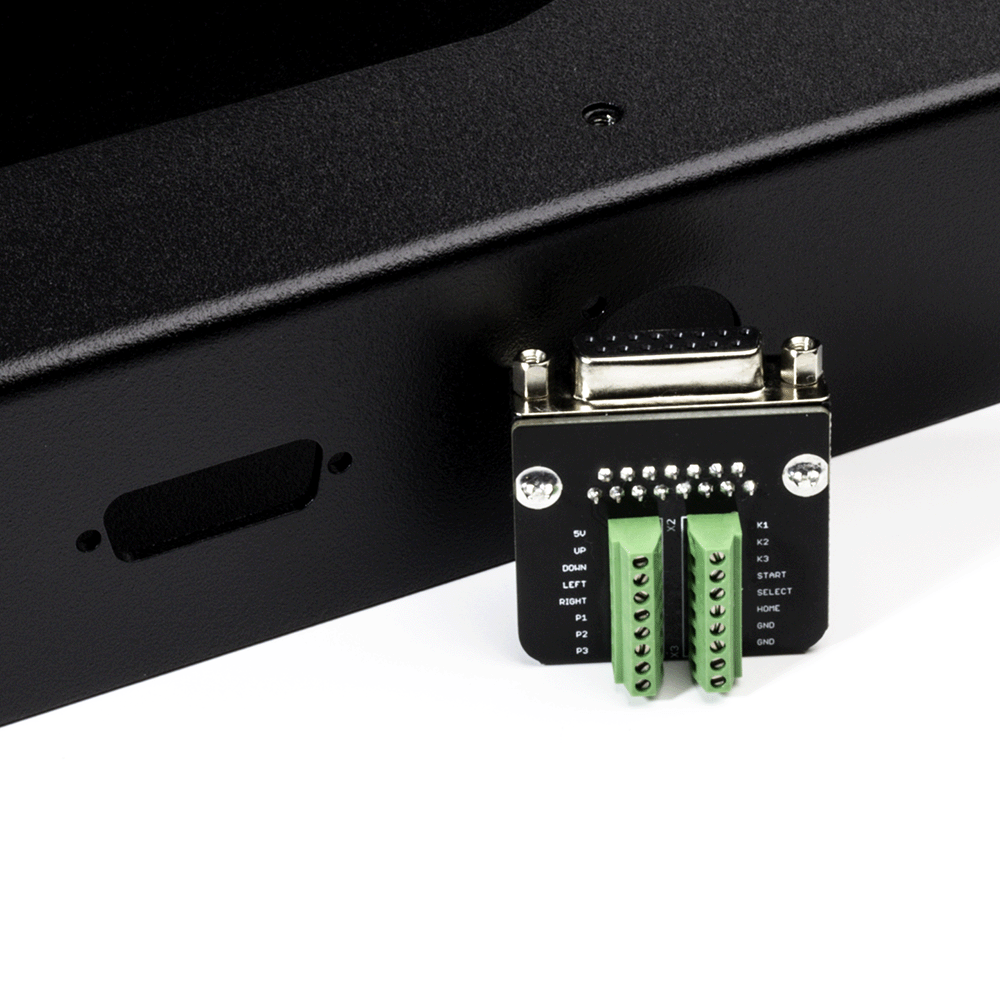
- 1x DB15 port with screw terminals. The layout is labeled such that its compatible with NEO-GEO. However, you can wire it up however you wish and disregard the label on it.
What you need to provide:
-
Any D-Size passthrough for the cable connection to your fighting board. Often this is just USB 2.0 by Neutrik or Switchcraft. They come in both black and silver. Switchcraft normally includes mounting hardware. Neutrik does not. Keep this in mind. These are common and the best quality connector that looks the best. I have used them for years and love them.
-
Internal cable (USB most likely) to connect the Fighting Board to your Cable Connection. These can be short, perhaps 12” at the longest. Monoprice.com has the best pricing on these generally.
- The Panzer 4 Panel of your choosing, as well as lever and buttons for the layout of your choice. These are separate items to keep inventory tracking easy and to offer more options to the end user. Just because I like Sega Player 2 doesn’t mean you can’t use a hitbox!
- Wiring to connect the DB15 screw terminals to the screw terminals on your fighting board.
Connecting the DB15 to the Fighting Board
This isn't hard. I promise! The two wires that are most critical are the 5V (or VCC) and the GND. Don't forget to connect them. You only need to connect ONE ground between the DB15 and the Fighting Board, but a couple are provided for convenience. If you fail to wire a 5V wire between the DB15 and the VCC line of your fighting board, weird behavior will occur. The Fighting Board connections are all to a pin on a microprocessor - when its not supplied power, it doesn't set a pin state so they could be high, low, or somewhere in between. This means your buttons may show pressed, or not react at all.
The rest of the wiring is simple. Connect one wire from P1 on the DB15 to P1 on the fighting board. Do the same for each connection. When you press a button it will activate on both the DB15 and the Fighting Board.
DO NOT CONNECT A DB15 and USB AT THE SAME TIME. YOU WILL BACK FEED POWER AND DAMAGE SOMETHING.

Dimensions, Weight, and Hardware Sizes:
- 13.4” long, 8.3” wide, and 2” tall.
- Approximately 4lbs when built.
- Screws that fix the top and bottom halves are #6-32 flat head.
- Screws that fix the internal PCBs to stand-offs are #4-40 panhead, 1/4" for the auxiliary PCB and 3/4" long for the fighting board + EZ Wiring Adapter PCB.
- Screws that fix the top panel down are M4, at least 6mm long.
Confirmed Korean Levers by actual Panzer Owners:
Note: Most Korean levers are deeper than 2” and likely will not fit in the Panzer 4 chassis. The following have been confirmed to fit:
- Sanjuks V3 (Deneld, via Discord)
- Crown [Samducksa] SDL-301 Infiltration-QR Lever (JasSumal, via Discord)